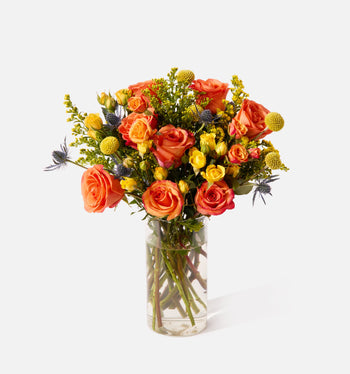
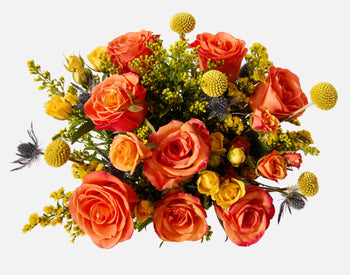
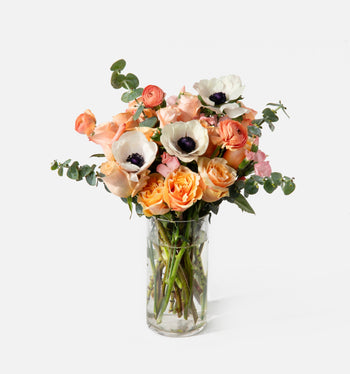
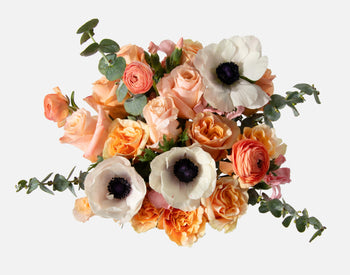
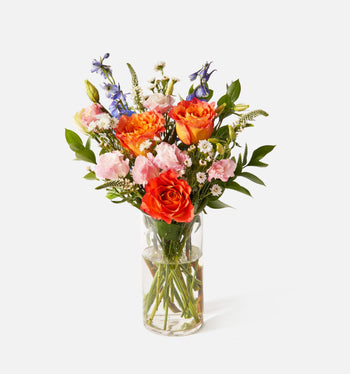
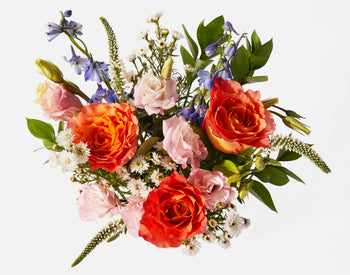
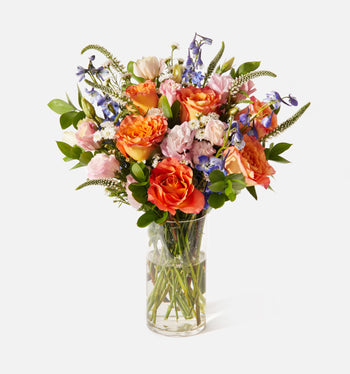
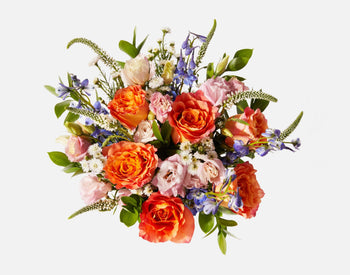
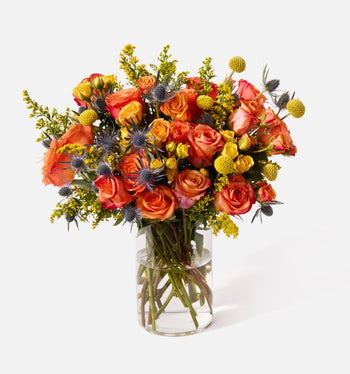
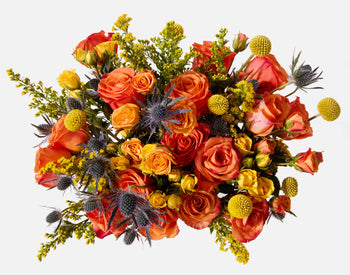
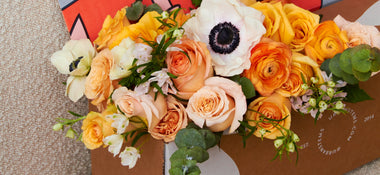
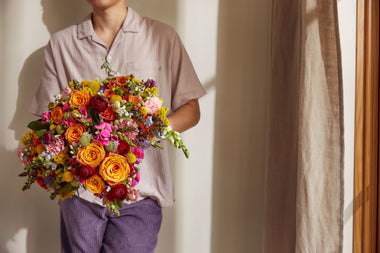
What takes a floral centerpiece from “DIY charm” to that instagram-ready, professional look? It’s all about how you style the stems! Whether you’re doing flowers for a graduation party, a baby shower, a cookout, or just for a friend’s dinner we’re here to give you all the tips you’ll need to arrange the perfect Summer Centerpiece. This bright arrangement features a stunning combination of rare garden roses, delicate ranunculus, and lacy scabiosa in a citrus-y summer palette that we just adore. So, here’s how you work those stems into a show stopping centerpiece for your next summer gathering:

1. First, choose your vase! Great news, you can check this step off because we’ve already curated the perfect vase for a chic centerpiece. We’ve chosen a sleek vessel that’s slightly more narrow at its top than in its body. This will help hold the flowers together more attractively as you begin to design.
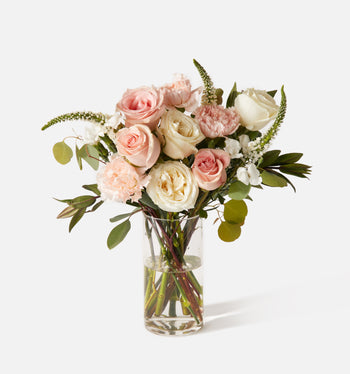
Pro-tip: if you want to use a different bouquet from our assortment with your own vase, choose one with an opening that’s 4.5” across or smaller. I know, it sounds petite but you’ll be surprised how many stems can fit! Also, make sure the vase is on the shorter side – usually 6” or shorter works well.
2. Trim and arrange your greenery and denser texture stems to create a grid. In this case, cut your eucalyptus and thistle so that the lowest leaf or lateral stem sits at the lip of the vase, and then place in the water.
Pro-tip: Be sure to cross the stems as you place them into the vase. This creates the grid that supports your heavier flowers.
3. Place your focal stems (in this case, 2 gorgeous varieties of garden roses – Free Spirit and Art Deco, which are both fragrant [swoon]) into the arrangement. Trim these so that the blooms sit 1 - 2 inches above the lip of the vase; they should sit fairly low in the arrangement.
Pro-tip: Another tip! Balance your focal stems across the arrangement. For example, don’t group all your orange roses together. Scatter them through the arrangement so that they can be seen on all sides.
4. Use lighter textures to create movement! Now, you’ll want to trim your veronica and your solomio so that they sit 2-3 inches above the lip of the vase. Then place them into the vase between the larger roses. This will help your bouquet look more natural and garden-inspired.
5. On to my personal favorite step, place your plush delicate flowers like ranunculus and scabiosa so that they float above the other blooms just slightly. For me, this usually means cutting them so that the blooms sit about 2-3 inches above the vase, and then playing with the placement until I’m happy with the composition.
6. Double check the height of your centerpiece; your arrangement should be shorter than your arm if you rest your elbow on the table, point your arm straight up and make a fist. Any taller and it will be tough to see other people past the flowers.
7. Share your flowers with someone you love! The magic of any centerpiece is that it’s at the center of a celebration.
One more general pointer for arranging flowers that becomes especially salient with centerpieces: trim your stems slightly longer than you think you need. If your stems are too short, they’ll sink into the vase and your arrangement won’t sit well. Just remember, you can always cut more length off, but it’s pretty much impossible to add length back to a flower stem.
After you’ve finished designing, standard flower rules are in play – keep the flowers cool and out of the sun (to the best of your ability; I get it. It’s July.), top up the water every day, and change it completely every other day. Summer is a glorious season for flowers and for gathering with friends, which means it's the perfect time to blow your fellow party guests away with a stunning centerpiece for the hostess. Give it a try with the steps above, and I promise you can’t go wrong.


